ONKYO TX-NR3030 Instruction Manual
Browse online or download Instruction Manual for AV receivers ONKYO TX-NR3030. ONKYO TX-NR3030 User Manual
- Page / 24
- Table of contents
- TROUBLESHOOTING
- BOOKMARKS
- TX-NR3030 1
- Before Start 2
- Connections 3
- Setting Up 10
- Playing Back 11
- Front Panel 18
- Rear Panel 20
- Troubleshooting 21
- Specifications 22
- DISCLAIMER 23
- Precautions 24
- For European Models 24
- (Mainland) 24
- (Hong Kong) 24
Summary of Contents
TX-NR3030AV RECEIVERBasic ManualAdvanced Manual found herehttp://www.onkyo.com/manual /txnr303 0/adv/en.htmlEn
10Step 2: Setting Upcursors and press ENTER on the remote controller. Follow the guidance to select the desired REMOTE MODE button and in the keyboard
11Step 3: Playing Back1Playing the player and TVPLAYLISTPLAYLISTSETUP RETURNTVREMOTE MODE/INPUT SELECTORHOMEPREV CH MENUGUIDETOP MENURECEIVERSOURCEZON
12Step 3: Playing BackListening ModesYou can select a listening mode from various options such as Dolby Digital, Dolby Atmos and DTS. Select the desir
13Step 3: Playing Back3Connecting and playing the Bluetooth-enabled deviceYou can wirelessly enjoy music files stored in a smartphone or other Bluetoo
14Step 3: Playing Back Network Service: Select to use Internet radio services and the DLNA function. When you connect the unit to the network and pre
15Step 3: Playing BackScreen Centered Dialog: Height speakers are used to move acoustic images such as dialogs from the center speakers upward accordi
16Step 3: Playing Back6Using the multi-zone functionThe function allows you to connect the unit with a TV or audio equipment placed in a separate room
17Step 3: Playing BackListening to Music in a Separate Roomc. Connecting an Integrated Amplifier in a Separate RoomIt is possible to play 2 ch source
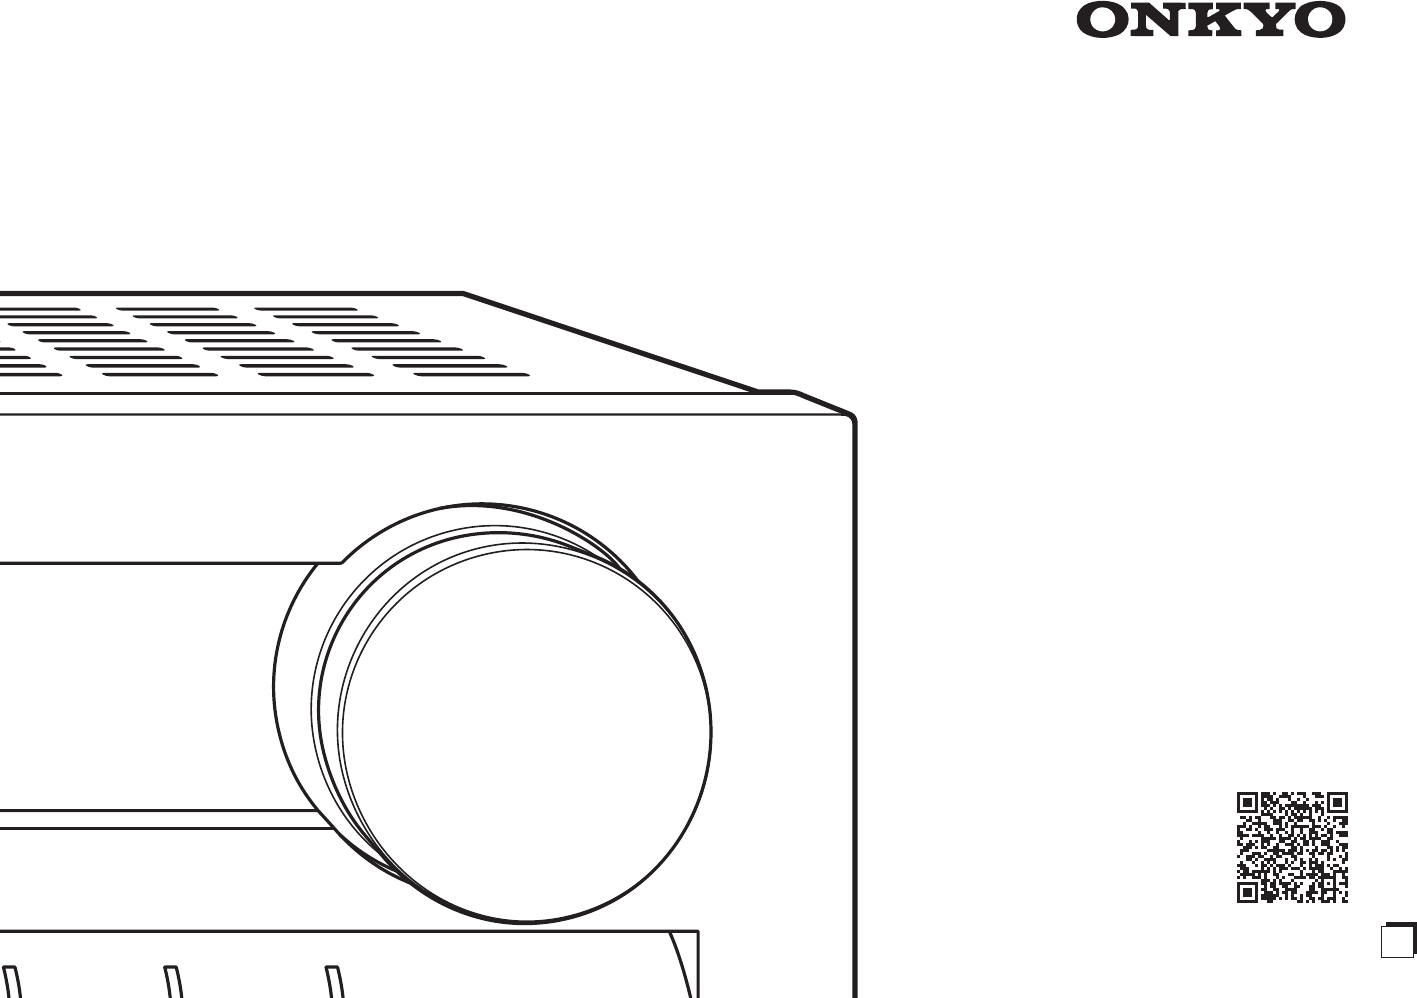
18Front Panel1zON/STANDBY button: Turns the unit on or into standby mode.2PURE AUDIO button and indicator: Switches to the Pure Audio mode.3Remote con
19PDIMMER button (North American models): Switches the brightness of the display.RT/PTY/TP button (European and Asian models):Can be used when receivi
Before Start2About the Basic ManualThe Basic Manual leads you through the fundamental steps to enjoy the AV Receiver from connections to TV, speaker s
20Rear Panel1DIGITAL IN COAXIAL/OPTICAL jacks: Digital audio signals are input.2RI REMOTE CONTROL jack: An Onkyo product with RI jack can be connected
21TroubleshootingBefore starting the procedureProblems may be solved by simply turning the power on/off or disconnecting/connecting the power cord, wh
Specifications22Amplifier SectionRated Output PowerAll channels: 135 watts minimum continuous power per channel, 8 ohm loads, 2 channels driven from 2
23License and Trademark InformationManufactured under license from Dolby Laboratories. Dolby, Dolby Atmos, Dolby Surround, Surround EX and the double-
PrecautionsFor European ModelsDeclaration of ConformityWe declare, under our sole responsibility, that this product complies with the standards:– Safe
Step 1: Connections31Connecting the TV and playersImportant: The power cord must be connected only after all other connections are completed.HDMI Cabl
4Step 1: ConnectionsThe unit supports the HDMI Through function that allows transmission from players to the TV even if the unit is in standby. You ha
5Step 1: Connections2Connecting speakersSpeaker layout"$%&'789GHIJF#To enjoy the Dolby Atmos listening mode, Height 1 speakers or surrou
6Step 1: ConnectionsCeiling speakers, etc. are used for maximizing effects in Dolby Atmos or Dolby Surround listening mode. Install Top Front speakers
7Step 1: Connectionsbut has a cut-off frequency adjusting dial, turn it to the maximum frequency. If your subwoofer does not have built-in power ampli
Step 2: Setting Up8Important: When the unit is turned on for the first time, the setup wizard of the section 2 will automatically be launched. If you
9Step 2: Setting Up2.After placing the microphone at the measurement position, select "Do it Now" with the cursors and press ENTER.3.Connect
More documents for AV receivers ONKYO TX-NR3030


Related products and manuals for AV receivers ONKYO TX-NR3030
 (88 pages)
(36 pages)
(88 pages)
(36 pages)
 (160 pages)
(100 pages)
(108 pages)
(116 pages)
(156 pages)
(160 pages)
(100 pages)
(108 pages)
(116 pages)
(156 pages)
© 2020, manymanuals.com. All rights reserved. | 0.917 s |
 Manymanuals.com
 Manymanuals.de
 Manymanuals.fr
 Manymanuals.it
 Manymanuals.pl
 Manymanuals.cz
 Manymanuals.es
 Manymanuals-pt.com
Comments to this Manuals